"Galz wif a$$e$ like mine don't talk 2 boiz wif face$ like yours" - quoted from "She's The Man"

Saturday, August 19, 2006

a little bit naughty with Photoshop =.=

After suffering from a stressful time of preparing for midterm and assignments, I felt exhausted. Then this post is just about some stuff I did to relax ^^
Hopefully you enjoy them and comment as I know it still has some problems


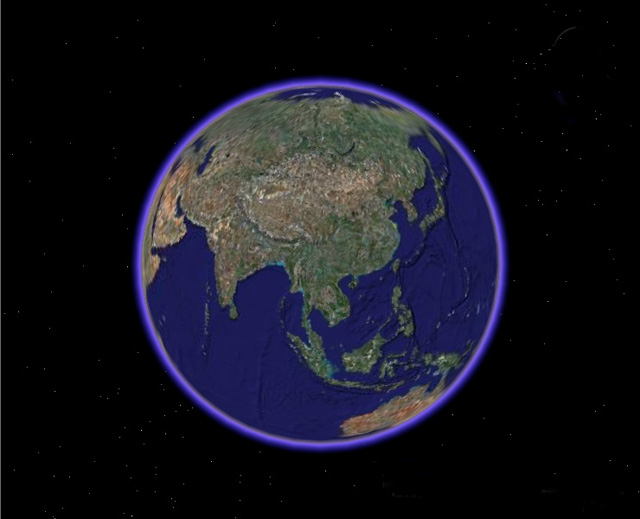
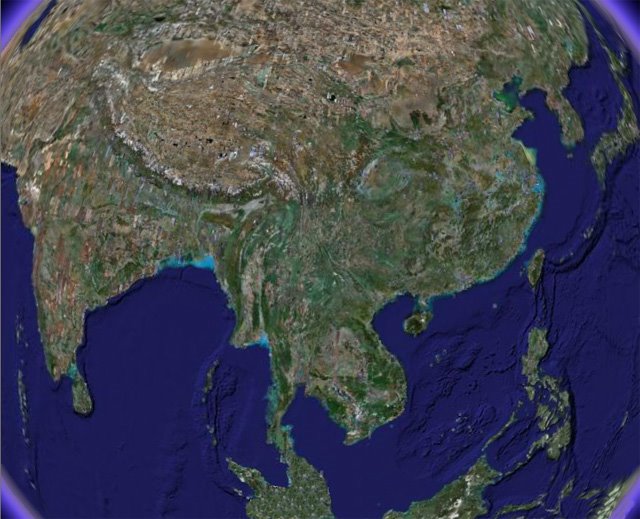
This pic is created just by using Filter options. I think that if its background had other colors than the white one, it'd be better. But it's kind of abstract and I'm pleased with it. Maybe there is something wrong with the output since the original file is kind of clear and fresh :-/


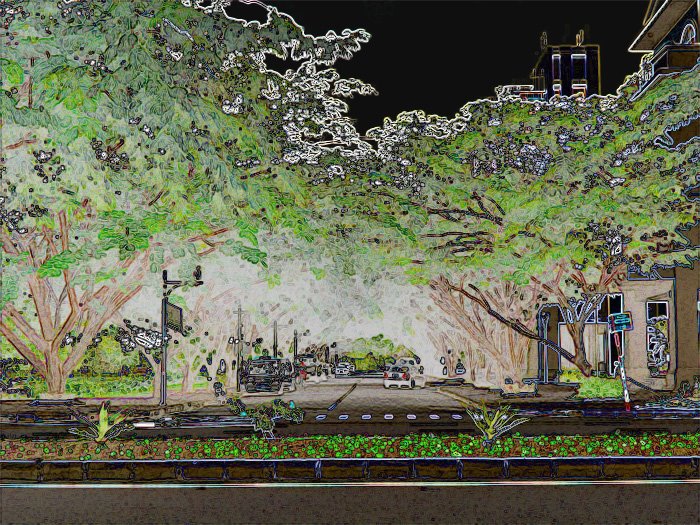
The next one is a image that imitates a colored sketch. Its origin is kind of bright and fresh, but the edited one is darker and depicts a deserted area surrounded by a lively and flashy town.


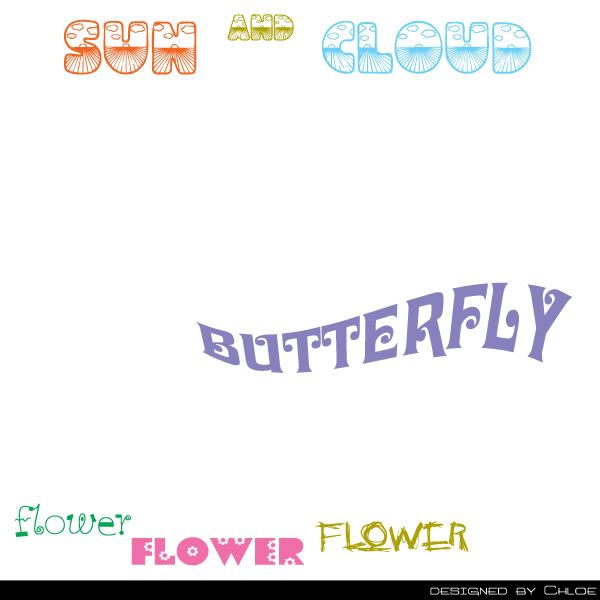
The third one is a typography exercise that Lily did ask us to post on our blogs. Though it looks rather simple, it took me a few hous to complete it since these kinds of typography is hard to search and download freely. Moreover, their placements and perspective made me feel headache.

Monday, August 14, 2006

How to create slashy effect in Flash in 10 steps>>

I applied this effect once in my Flash brief 3A. This kind of effect is not so difficult to learn though you need to be a little bit flexible ^^

Step 1: you take the photo of the target object at a possibly seen distance but make sure that it is far enough.


Step 2: duplicate this image and rename it, then open the new image in Photoshop.
Step 3: Open Filter--> Blur--> Radial Blur
Choose:
- Blur Method: Zoom.
- Quality: Best.

- Blur Center: choose he point you want audience focus on or the next destination you want to go.
- Blur Amount: it's up to you. The further distance, the more blur amount.


Step 4: import these 2 images into Flash and put the 1st one (not blurry) and the 2nd one (blurry) on the 1st frame, but different layers. Remember to name both layers.

Step 5: convert them into movie clip and name them "img1" and "img2".

Step 6: With "img1" movie clip, on the frame 1, choose its alpha = 100, then on frame 8, choose its alpha =0. Do the same thing but select converse alpha levels for "img2" movie clip.
Scale up the 2nd one's size a little bit to make the movement become real.
Step 7: Motion Tween two of them.

Step 8: Play movie once or twice to adjust somehow. Maybe extend the number of frames or make the 2nd one more blurry.

Step 9: import the third image (the one of which the next destination locates)


Step 10: leave a blank frame then put the 3rd one on frame 10. Put "stop();" on this frame.

Now you can enjoy your job ^^