High-Contrast Sketch in Photoshop
I took this tutorial on http://www.tutorialized.com and I think it is cool for me to play different things flexibly. So I introduced you guys this and also some of my works applied by this tutorial ^^
Step 1: Duplicate the original image layer
Step 2: Change the duplicate layer's blending mode to Overlay.
Step 3: Reduce the Overlay 1 layer's opacity to 60%.
Step 4: Apply Filter > Stylize > Find Edges to the Overlay 1 layer.
Step 5: Duplicate the Overlay 1 layer.
Step 6: Apply Filter > Stylize > Find Edges to the Overlay 2 layer.
Step 7: Repeat step 5 and 6.
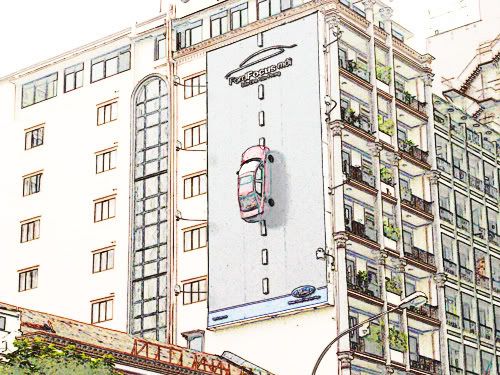
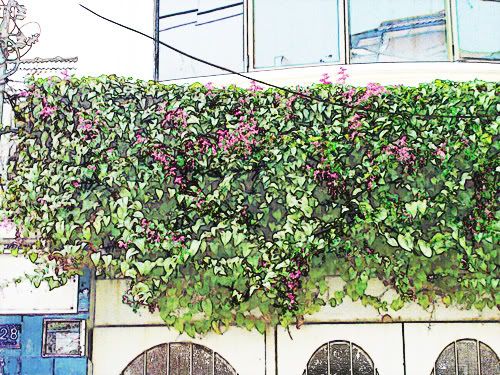
These two are taken and then changed into sketch by me. The second one is also applied the Gaussian Blur to make it more artistic and dreamlike.
posted by Alan Vo at 2:07 PM
![]()
![]()


0 Comments:
Post a Comment
<< Home